|
The DV2000/DV4 can link to a Mitel 3300 PBX using a serial connection or a TCP connection where the VMS is the client. This link uses the protocol and features listed in the table below:
Link Type
|
Protocol Used
|
Log File Prefix
|
Features Supported
|
Serial,
TCP client
|
Mitel SX-2000 Light PMSI
|
ACMSRVR
|
Check In, Check Out, Name Change, Maid Status, MWI, Station Restriction
|
Configure the Link
To configure the physical link to the Mitel, follow these steps:
1. Using Activity Monitor, stop the voice mail service.

2. Run the System Configuration application and select Features | Connectors.

3. Select the PMS Pass-Through property page.
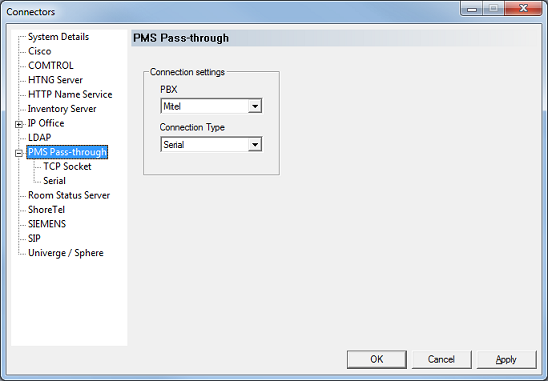
4. Use the PBX drop-down box to select Mitel.
5. Use the Connection Type drop-down box to select either Serial or TCP Client as the type of connection.
6. Click Apply to save your changes so far, without closing the dialog.
If you are using a serial link, continue with step 7. If you are using TCP, skip to step 11.
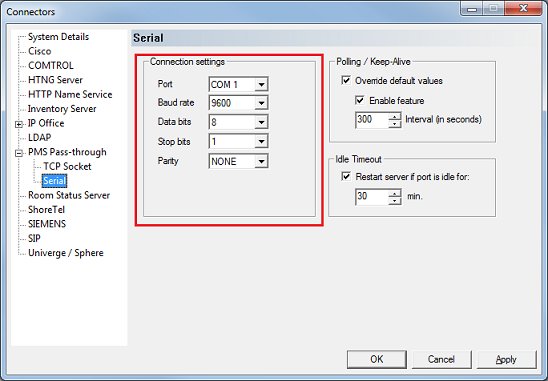
| 7. | Select the Serial property page. |
| 8. | In the Connection settings section, use the Port drop-down box to select the correct COM port, then use the other boxes to select the baud rate, data and stop bits, and parity settings to match those on the PBX. |
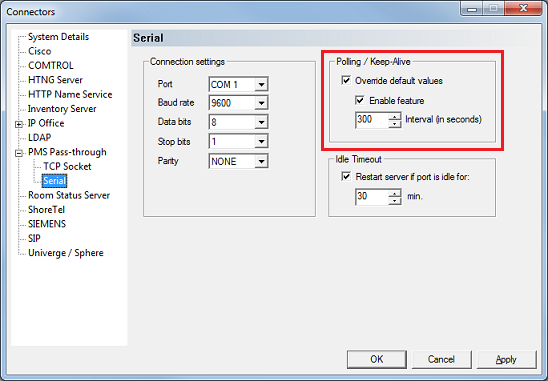
| 9. | To force the use of polling (keep-alive) packets, check the box labeled Override default values and then check the box labeled Enable feature. Finally, use the edit box provided to enter how frequently the polling packet should be sent; a value of 300 seconds (5 minutes) should be fine for most cases. |
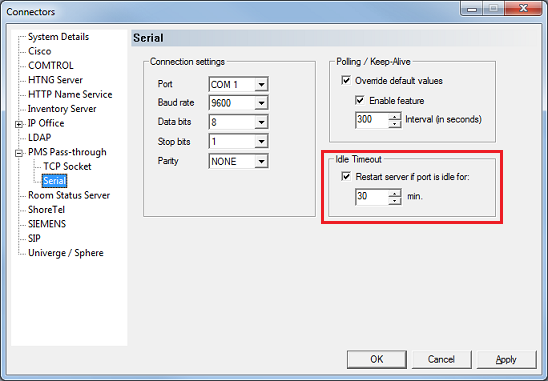
| 10. | To force the VMS to reset the link if it is idle for too long, check the Restart server if port is idle for box and then set the number of minutes the port can be idle before the reset option is triggered. This value is set in minutes and it should always be longer than the polling interval. |
If you are using a TCP link, continue with step 11. If you are using serial, skip to step 16.
11. Select the TCP Socket property page.
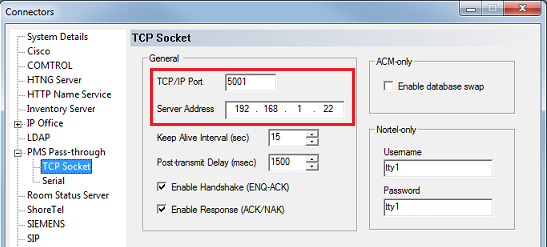
12. Set the TCP/IP Port to the port number configured on the PBX and set the Server Address to its assigned IP address.
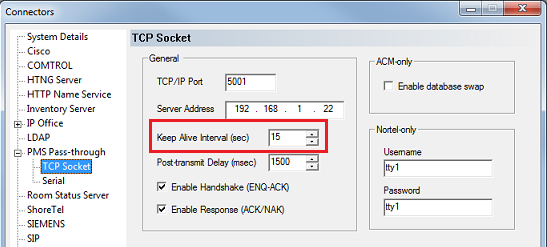
| 13. | Set the Keep Alive Interval to a reasonable value. It is set to 15 seconds by default, but for the Mitel PBX you can, and should, change it to a larger value; a value of 300 seconds (5 minutes) should work fine. |
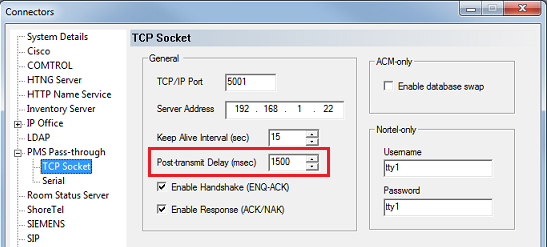
| 14. | The Post-transmit Delay value determines how long after the PBX acknowledges a message from the VMS that the VMS will wait before it will attempt to send another message to the PBX. The default value of 1500 msec (1.5 seconds) is usually sufficient, but if the PBX is getting overwhelmed, you can increase this value to artificially slow the pace of message traffic. |
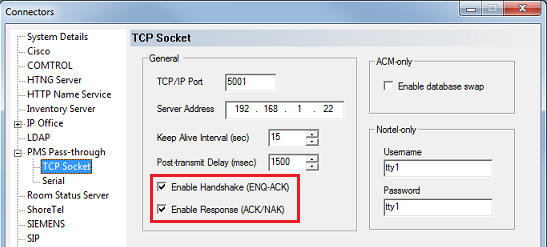
| 15. | Check the Enable Handshake box if the PBX requires the VMS to send an ENQ and get an ACK before it sends a message packet; otherwise, you can uncheck this box. The Enable Response setting should always be enabled. All other settings on this page are irrelevant for the Mitel interface. |
Continue from here whether you are using a serial link or a TCP link.
16. Click OK to save your changes and close the Connectors dialog.
17. Continue to the next section to configure the hospitality settings.
Configure the Hospitality Phone Control Settings
After you have configured the connector settings for the Mitel link, you need to configure the hospitality service to use the Mitel connector and you also need to configure the phone control settings.
To do so, follow these steps:
| 1. | Select Features | Hospitality. |
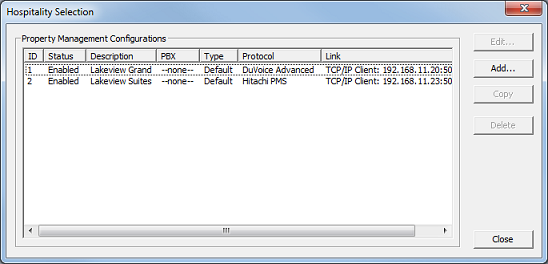
| 2. | If prompted, select the PMS instance (as shown below). This dialog is only displayed if you are licensed for more than one PMS instance. Otherwise, skip to step 3. |
3. Select the Phone Control property page.
4. In the PBX section, use the Type drop-down list box to select Mitel.
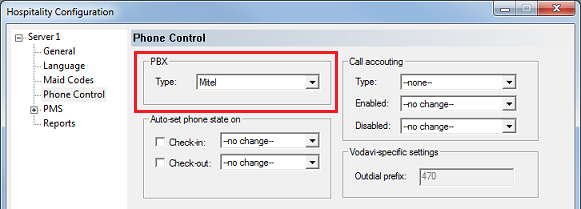
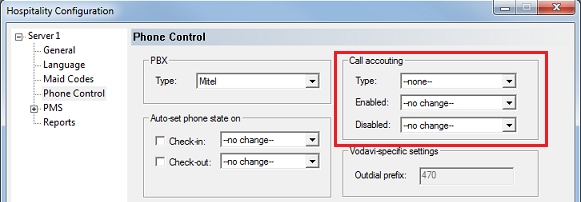
| 5. | If you are not using Hansen CASH or Metropolis call accounting, skip to step 6. If you are, use the Type drop-down list box in the Call accounting section to select the call accounting software. Then use the Enabled and Disabled boxes to select the appropriate COS (or call restriction level) to send to the PBX when the call accounting software signals that the room phone should be enabled or disabled. |
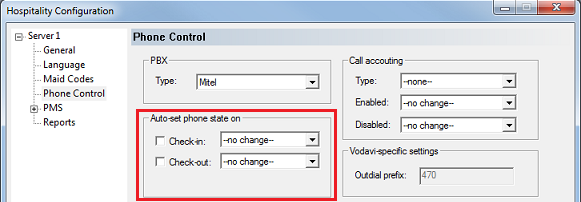
| 6. | In the Auto-set phone state on section: If your PMS sends messages to the VMS to change the phone COS, or if you enabled the call accounting settings in step 5, make sure both check boxes are unchecked. However, if you aren't using call accounting and your PMS protocol does not offer a message command for setting the phone COS, you may wish to enable both options and use the associated drop-down list boxes to select which phone COS (or restriction level) to send to the PBX when the room is checked in and when it is checked out. The --no change-- option acts the same as unchecking the check boxes. |
| 7. | In the User group restrictions section: When you selected Mitel in step 4, above, the system automatically reset the values in this table to match the default values for the Mitel PBX protocol. However, you will need to enter the correct matching values for your PMS in the PMS Value column. To enter a PMS value, click in the box under the PMS Value heading for the row that has the matching PBX value. Then enter the value exactly as the PMS will send it (typically, this will be a single digit number). Repeat for each PMS value. Each PMS value must be entered in the table only once; it is not necessary to enter a PMS value for every PBX value. You can change the Display Text as well if you wish; this is what will be displayed in InnDesk. The PBX values should not be changed unless you know that your PBX is using different values. |
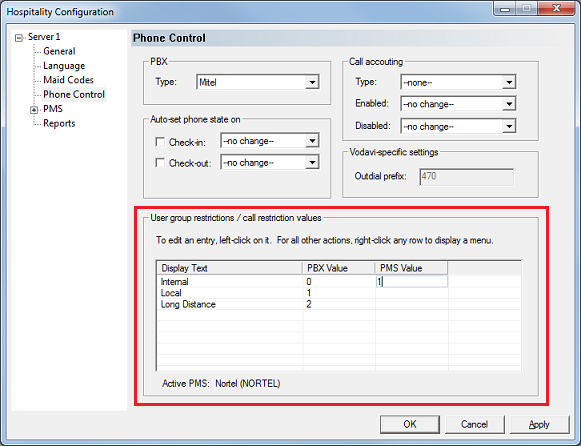
8. Click OK to save your changes and close the dialog.
9. Once you are finished with all configuration changes, close System Configuration.
10. Using Activity Monitor, restart the voice mail service.

|


